Thursday, July 19, 2012

Stuffed Peppers and Bellies

For the past few days Mike and I have been talking health and portions as well as fitness. We both work out regularly and have been talking about how portion sizes and exercise are what being healthy is about.

So the other day - while I ate cereal for dinner - he made stuffed peppers. From the look of the recipe it's his adaptation of "Cajun Stuffed Peppers"

The ingredient list calls for:
1 cup brown rice
1/3 cup quinoa
2 large bell peppers, halved lengthwise
1 Tbsp EVOO
1 medium onion, chopped
1/4 lb andouille sausage, finely chopped
3 cloves garlic, chopped
1/2 tsp dried thyme
Large pinch of allspice (optional)
Salt
1 14 oz can low sodium diced tomatoes
1 small bunch of kale, stems removed, leaves chopped
Chopped fresh parsley, for topping (optional)

This sounds super delicious and very healthy - well, maybe not the andouille sausage but hey. Have to splurge now and then. So here is the ingredient picture to show how he changed it up.


So instead of kale, spinach was used and it doesn't look like any rice was used, just quinoa. Which ultimately is better for you. It's a more complete grain. The protein content is very high (18%) making it a source of complete protein (to all you vegetarians out there - eat more quinoa!) It is also a good source of dietary fiber, phosphorous and is high in magnesium and iron. It also is a great source of calcium (another for those veggies out there or lactose intolerant people). And another benefit is it is gluten free and easy to digest. So this little grain is just superb and superior to other grains (maybe I'm just biased).


Looks like he took the onion and sauteed that up and then added the meat, tomatoes and spinach and cooked it down. The quinoa was cooked separately then mixed together after.


Then of course it's time to stuff the peppers. The peppers were pre-cooked in the microwave for just a few minutes to soften them up. Of course if you prefer your peppers crunchy, cook for less time. As you can see above that just looks amazingly delicious. He can definitely find good recipes and then even adapt them and make them tasty and pretty. He said that he had two servings because of how delicious it was. I don't blame him haha. He said that I can have some Friday for dinner when I come over. :) I'm excited to try. He thinks I'll really like it. It's super healthy and has a great amount of nutrients and is also, protein, carb, and veggies. Can't beat that for a stuffed pepper. I also appreciate that it isn't loaded up with cheese to make it "taste good." If you have to add cheese to make your food taste good, you cooked it wrong.


As you can see, he destroyed them ;) Meaning they were delicious.

Kudos on the healthy and delicious dinner, can't wait to dig in myself.

The recipe even came with nutritional information - here it is:

Per 1/4 recipe:
Calories: 475
Fat: 16g
Saturated Fat: 4g
Cholesterol: 19mg
Sodium: 773mg
Carbs: (I can't see it on the paper)
Fiber: 9g
Protein: 18g

Here is the recipe for those that want the original

Looks to be from Food Network - go check it out

Tuesday, July 17, 2012

Dinner and a Movie

Well, this weekend was a fantastically fun weekend filled with friends and pampering. Pampering on my part due to the pedicure and tanning that I did. Well I guess Mike getting a massage from me here and there is pampering too ;)

So this weekend after going out on Saturday and spending time with friends and shopping we chose to take it easy Sunday.

Sunday morning we went out for breakfast at Village Inn, man it was packed, guess we hit the early church crowd. Then we went off to the outdoor mall nearby to go to Adidas, Nike, and Under Armor in search of shorts, shirts, shoes and sports bras. Haha, yeah odd combo, actually I didn't buy anything. Mike got all the goodies there. Then we stopped off at Cabela's to look at knives and guns.

Coming home after we decided to pick up ingredients for lobster stir fry. Mmmmm, yes lobster stir fry.

So before making dinner, as it was only 3pm when we got home we decided to hit up the theater to see the movie "Ted." It was funny, not, laugh your ass off for 2 hours funny, but funny - good entertainment to take your mind off the world for 2 hours. But I would say, save $8-$10 and rent it when it comes to DVD.

After the movie we came back and started prep work on the vegetables. At my house I don't have the nice fancy knives like Mike does. I have one decent chefs knife, which Mike gave me, which he used to slice and dice up the veggies we bought.

The handsome knife master
Fresh Veggies ready for stir fry


We used the following:
Asparagus - one bunch
Red Onion - half a medium
White Mushrooms - 1 - 8oz pkg
Sugar Snap Peas - 1 good grand handful
Red Bell Pepper - 1 medium

Then we bought 1 pkg of imitation lobster meat - since actual lobster meat is expensive and I would be of no use if we bought live or even "dead" lobster that we would have to cook. It looks like an underwater bug - *shivers* eewww creepy. Delicious but creepy looking. *shudders*

Of course when we got the veggies all chopped and ready Mike asked, "where is your big frying pan?" I pointed to the cabinet at the end of my kitchen and said "in there." He goes over and pulls out, what I call, my big frying pan. He asks in a bit of a confused tone "this is your big frying pan?" I blinked and just said, yes. Of course it is, for me that's big. Mind you I have this old pots and pans set that is from 2007 and has been used and abused and came out of a Wal-Mart brand box set. Not the best pans but not the worst. Of course my "big" frying pan is probably what most would call medium. I can understand this since I can't say my cookware is of high quality - I value my bake-ware a bit more. I'm working on it. Soooo, in the awkward silence that followed my "yes, that's my big frying pan." I took his silence and questioning looks at my "big" pan as - this isn't going to work very well. So I said, we can go get a bigger one. Target it just right across the road. So off we went and brought home a fabulous new addition to my kitchen. A T-Fal 5-quart sauce/frying pan with two handles one short and one long and with a beautiful glass lid. Ahhhhh the beauty and fun of a new toy for the kitchen.

Veggies in the new pan
Veggies sauteing in olive oil (EVOO)
YUM
Making your mouth water huh?


And then to serve we cooked up some brown rice, not the minute kind mind you - this is why our veggies look a bit lack luster in the final photo, because we didn't manage our time and cooked the rice at the same time we cooked the veggies - oh well, lesson learned. It still tasted good just didn't look as pretty as we had anticipated.

Final Product - not as bright but still delish

I would call this a success, wasn't something we oooed and aaahhed over but was still a great idea and satisfied that part of us that wanted veggies and seafood. I ended up adding more salt, regardless of the fact that there was a good bit of soy sauce in it (mind you it was low sodium). Mike ended up adding more sirachi hot sauce to his - cleared his sinuses at least once by getting a good bite of it on a forkful.

Stir-Fry is a fun and easy way to throw together a bunch of different ingredients that appeal to you. Try different veggies, different meats, different sauces. Teriyaki, Tabasco, tomato, cheese, Alfredo. Whatever you like.

Allez Cuisine!

Wednesday, July 11, 2012

Great minds think of Chicken Fajitas

Tonight Mike and I made dinner at our respective apartments. Although, by chance we both had chicken fajitas on the brain - in a sense. He was more direct about his fajita desire than I was. I had polenta at home and chicken, then what do do with it....

So he asked what he should use for his fajitas. I suggested the usual suspects of toppings: bell peppers, onion, garlic, add some mushroom for fun. Of course seasoning is just a packet of fajita seasoning as it's easier than experimenting with seasonings randomly - though that is a fun thing to do sometimes, can get tricky but is fun to find new and fun flavor combinations.

I just needed to find something to go with polenta and chicken. He suggested I pick up shrimp, but being the cheapskate I am I chose not to get shrimp. Though I did pick up red onion, mushrooms and a green bell pepper for the mix. Then I said cheddar cheese would be good too - he suggested to mix it in the polenta or even just sprinkle on top. I did more of a sandwich in the middle. He ended up forgetting cheese with his altogether.

Being the foodies we are we talk about these things back and forth via text and pictures. Of course prior to his shopping spree he tells me he doesn't like doing legs then cardio at the gym. I of course giggle to myself at work when I see that and the picture because I have been there. (This is why I do cardio first).

Handsome man getting his sweat on.

 So after getting this handsome picture I was finally off work and off to the store to pick up the needed ingredients for my fresh and unprocessed dinner. (polenta was homemade folks).

I whisked myself off to Whole Foods, rarely do I shop there, since I only had a few things to grab and it ultimately would cost the same in gas to get to Hyvee and such. So, WF it was. I then snapped a cute pic of myself while heading back to my car with my small sack of veggies.(The little boy helping the bagger was cute in that he wanted more groceries to bag but I didn't have a lot - his reaction was funny and the employee said "She's a no nonsense lady today - knew exactly what she wanted" then smiled at me as I left. - another reason I like WF - friendly and happy employees).


So as I get in my car and head home I receive "flowers" from Mike.

"Flowers to brighten your day." - Mike
He's a sweetie if you couldn't tell.

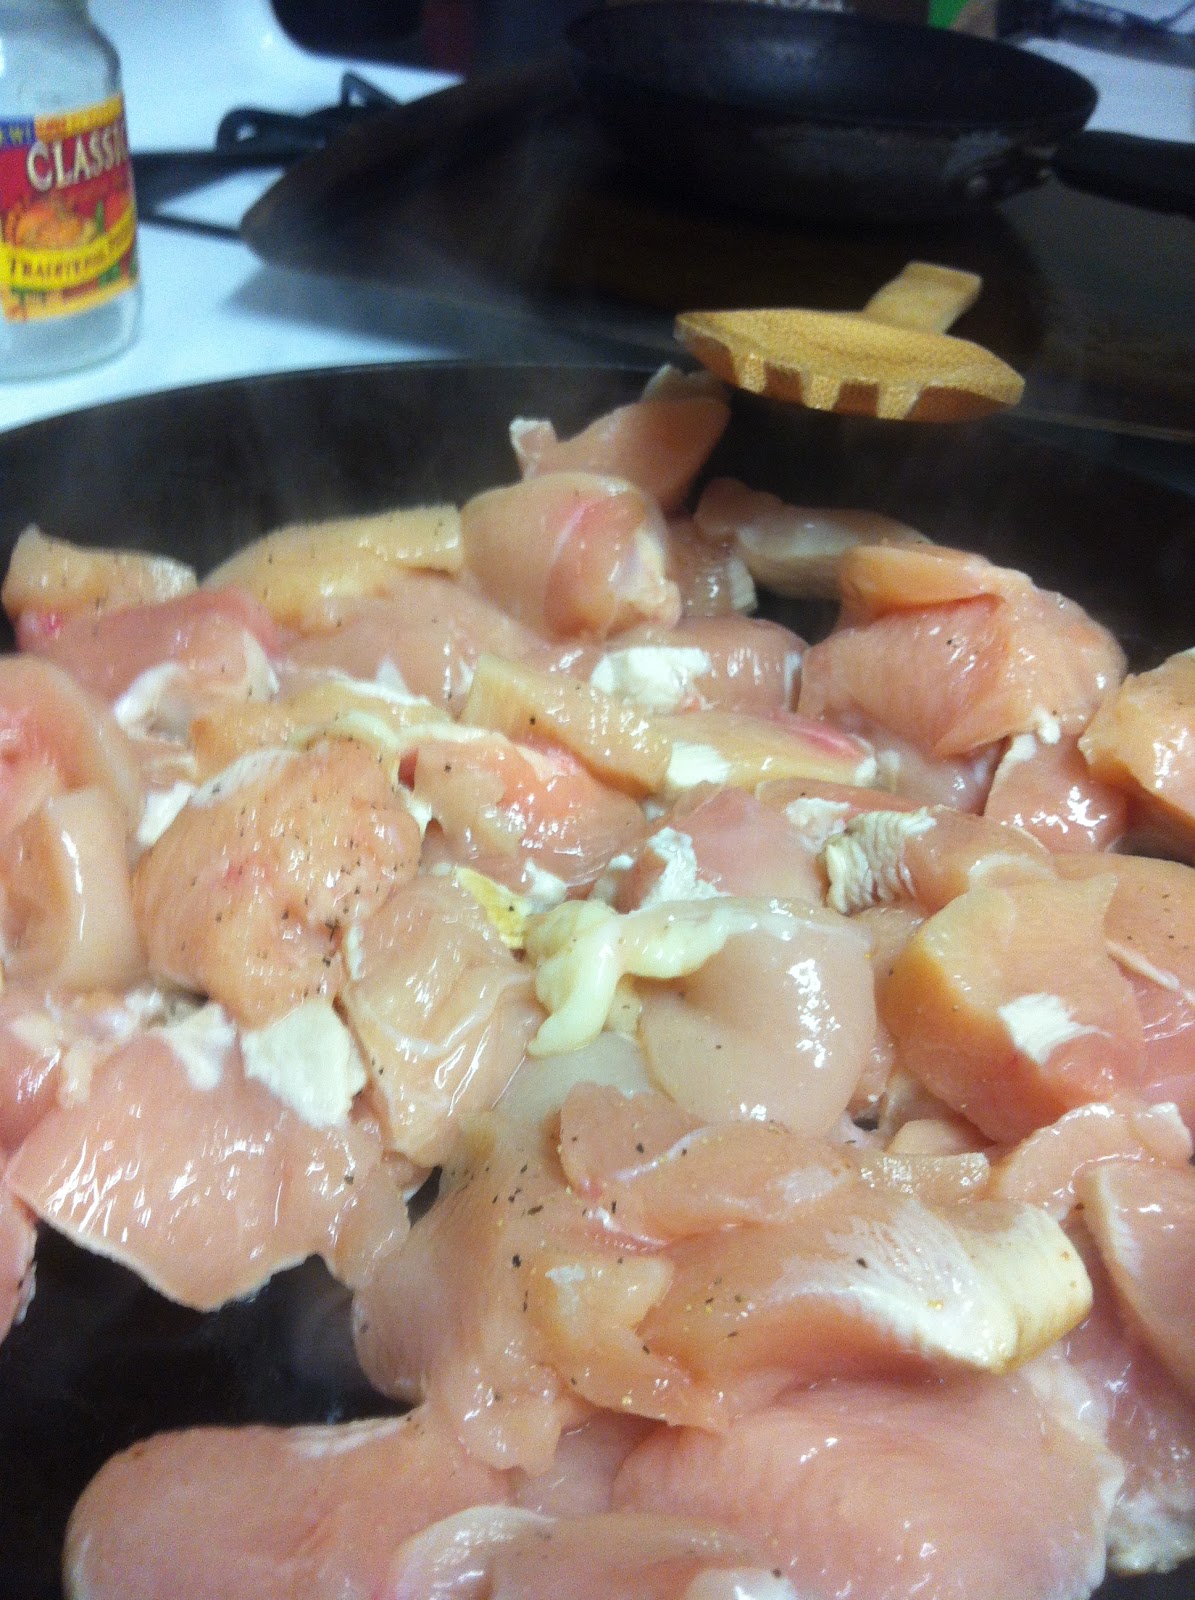
So home I go and unload my veggies onto the counter and prepare them. Chicken in the skillet browning up with some garlic and onion powder, salt and pepper (basic). Then I get the veggies started and get the onions opaque and the mushrooms browned while the peppers still have a slight crunch to them.


The polenta was made last night in a crock-pot - pretty basic. 4 cups water (boiling) then add 1 cup yellow (or white) cornmeal until desired thickness. It will thicken as it sits - also make sure to stir or it will get lumpy and chunky.

I also found a delicious looking peach while at the store. I had to have it and eat something sweet so I sliced that up and added it to my dinner. Yes I am using a compartmentalized "tray" of sorts. My inner child came out and my peaches weren't touching my hot food. 


Chicken and Vegetable Cheddar Polenta a la Sarah
He also used bell pepper (red), red onion, chicken and mushrooms. He also used a poblano pepper, black bean corn salsa and fajita seasoning. 


He's really good at chopping up veggies with his "ninja knives." as you can see he has some mad skills. Uniform and pretty.


He browned up the chicken with the seasoning and some lime juice for added flavor and depth. (Yumm!)

Looks like he cooked up the corn salsa in a pot and made it that way, corn and black beans and spices. Then he added the chicken and veggies together. Beautiful! Makes your mouth water doesn't it? It's making mine water and I'm still full from dinner.


To serve he wrapped it all up in a jalapeno cheddar flour tortilla - he forgot to add cheese to his burrito but from the sounds of it it didn't' really need it.


Lime Chicken Fajita Burrito a la Mike
Great minds right? He had his twist on fajita style chicken and I had mine. We both had delicious dinners that hit the spot and filled us up to the top. I felt like rolling around my living room because of how full I was. I'm not sure if he felt the same way. He said the heat in his burrito snuck up on him a bit but was delicious. He called it "very good" and when I said "yumm" in response to the photo he said "very." That is what we call a successful dinner. When Mike says very, very good. Then it's a good dinner.

I can't wait to see what this weekend brings for food...guess we will just have to wait and see what our minds conceive this time for breakfast, lunch or dinner.

Let us know if there is something we should try out or if you just want to know a recipe.

Monday, July 9, 2012

Whiskey Tango Steak Night!!!

Ok so maybe just Whiskey in the steak marinade, but YUMMMMM! When Mike and I are high fiving each other over such a great dinner you know we have a hit on our hands.

Again, another creation from the "big book of food." The Roomie decided steak over lamb and boy it was a good choice. So the menu for the night was:

Sirloin steak
Mashed Potatoes
Grilled Veggies
and a Mushroom Gravy

But let's embellish a little. That menu sounds like a pretty basic mid-western meal. Well you may be right but damn meat and potatoes is just a good way to go.

So here is the revised menu so you can start drooling like we did.

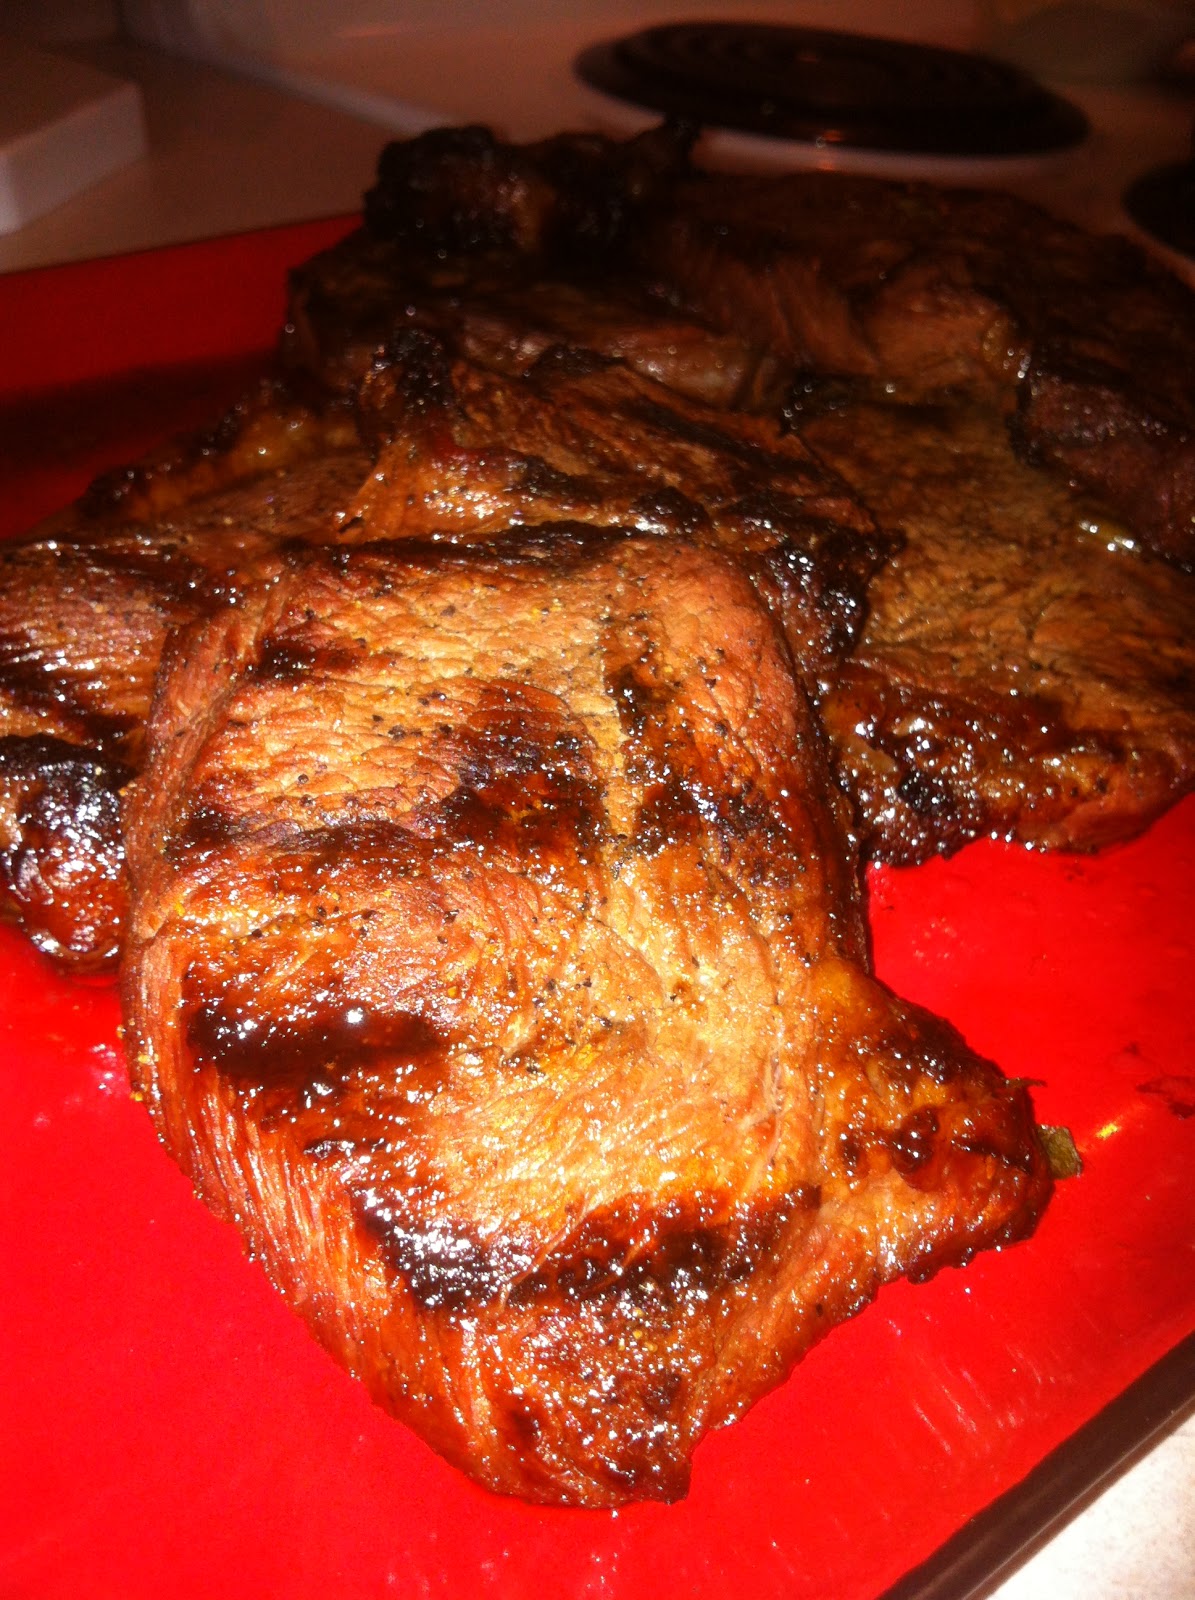
Sirloin steak marinated in a whiskey brown sugar marinade served with a baby red potato mashed into a heavenly smash with garlic and butter with a side of grilled California mixed vegetables with olive oil and garlic herb seasoning with a great side of mushroom gravy to serve on top of the steak and potatoes.

So now then you ask, what does this look like???? Well I am guessing you are salivating. Too bad these pictures aren't scratch and sniff, oh man you should have smelled this. The steaks only needed an added salt and pepper (light) to spice up the marinade for grilling.

So to start we marinaded the steaks in this fabulous whiskey marinade (we even bought cheap whiskey - McCormick's for $5 - tasted great! You are welcome to use Jack if you prefer). Here is the recipe:

1/4 cup whiskey (your choice to go expensive or go cheap - we couldn't tell the difference)
1/4 cup soy sauce
1/4 Dijon mustard
1/4 cup finely chopped green onion
1/4 cup packed brown sugar
1 tsp salt
1 dash Worcestershire sauce
ground black pepper to taste

Stir together whiskey, soy sauce, Dijon mustard, green onion, brown sugar, salt, Worcestershire sauce, and pepper. Add to chosen meat - sirloin steak in our case. Marinate over night or at least a couple hours. (We marinated over night)

Marinated Steak - just started grilling
From there we started making the mushroom sauce/gravy.

The mushroom gravy we cheated a little bit and used pre-made beef gravy and added some ingredients.


So we took this "savory beef" gravy. The gravy on its own is not that tasty. So we checked out the recipe for mushroom sauce from the "big book of food" and added white cooking wine (instead of white wine as stated in the book). We then cooked down mushrooms and browned them with some green onion.


freshly cut white mushrooms: courtesy of
Mike the ninja knife master

DON'T CROWD THE MUSHROOMS ;)
or they won't brown


So now we add the mushrooms and onions to the gravy.

Thickening process

Started cooking after browning mushrooms

We ended up having to make a roux (Mike made - I do not have the patience, when I thicken gravy I use cornstarch. He says that doesn't taste quite as good. I am sure he's right.)

Here is the gravy after adding the blonde roux.

YUMMY!

Of course we also added salt, pepper, rosemary, garlic powder and the white wine. Roomie didn't care for the rosemary and, therefore, didn't care much for the sauce/gravy. But Roomie liked the steak, taters and veg.

We cheated on the taters since neither of us wanted to boil and mash (even though that's probably my favorite way to eat taters).

Can I just say though, these didn't even need butter added. It's an "add boiling water" and wait 5 minutes potato mix. Just yum!! I was shocked for a potato flake mix. Definitely recommended.

So by this point food is starting to come in from the grill.

Steaks ready to come in - veggies in the foil

Can we eat now?

Steaks smelled AMAZING when they came in. Was so ready to eat at that point. So Mike got plates out and we dug in.

The veggies came in and looked great.


Now to eat and show off the skills of cooking.


My steak was done more medium rare/medium while the rest were closer to medium/medium well. Still so so so delicious.

We will definitely make this again. Maybe next time we will mash our own potatoes and make our own gravy but in the mean time this did a great job of satisfying our hunger.

Friday, July 6, 2012

Köstliche Brezel Brot zu teilen - Anfrage von Mike (Pretzel Bread)

OK, pretzel bread. YUM! Granted you say pretzel and I'm in, must be the German side of me. Bread, pork, apples...yum. I'm definitely of German descent. I mean look at this family.


- yes there is an American flag back there, but this is my grandmother and her parents (great grand parents for me) Grandpa was from Germany - came over on the boat.


So I think my family has had a great influence on food for me as far as enjoying traditional German foods. OK, enough of the family history lesson here. I'm a proud German descendant lol I could go on forever. Mike has some German background but he is more of a European mix than anything. He looks like a good ole German boy though ;)

Anyway, so Mike actually suggested I make pretzel bread. He had some while visiting his folks last week and had it with a bratwurst. He said that if I could find a recipe I should try it, it was delicious (if you see the clam chowder post you can see the pretzel bread he had).

So I hunted down some recipes and compared what would be easiest and best. Of course I also choose to do this in the heat of the summer, where it has been in the low 100's lately. Topping 107 last I checked. We are breaking some records this year for hottest summer. Ick, so I tend to stay inside a bit more at the moment so not to have a heat stroke or burn to a crisp (that's another story).

So last night I had an easy workout going on and now that Mike has helped me keep my apartment cool by helping me hang black out curtains in my room and a sheer curtain in the doorway to my kitchen I now can bake and not have my air running CONSTANTLY - I have a gas oven/stove and so it's always a bit toasty in the kitchen to begin with. Just wait though -

So i pulled all the ingredients out and actually measured them prior to baking - that never happens. I then took my time making this, letting the milk come to room temperature, making sure the water was 120 degrees and getting flour sifted. (Again, I'm the simple type of baker who just bakes).

I let the yeast expand and start to bubble, added the salt and continued and created a lovely sticky bread dough.

Well, tacky - it rested on my counter for 30 minutes to rise (didn't have to put in a warm place because my kitchen was probably already 90 degrees).
After I had to pull it out of the bowl and knead it for about 2-5 minutes until smooth and "silky."


After it rested a second time I portioned it out into the balls you see on the left (5 to be precise).

Then I had to get the water bath ready. You have to boil water and add baking soda - which makes the water froth and foam like vinegar would with baking soda. Never knew that but was almost like a science experiment and was fun to watch the dough balls bounce around and dance in the water.


This method was used to help create a sort of tough outer layer to make the "pretzel" part of the bread. The crusty doughy outside of a soft pretzel. This is how that is achieved. Kind of like making bagels I would presume. My friend had come over and he was just fascinated with this as well. Mind you my kitchen is a sauna at this point with the stove going to boil water and now having to actually turn the oven on to preheat to 400 degrees!!!

My friend had, at one point, looked at me and said "I'm sweating my balls off but I'm curious and fascinated by this." I think it's funny that people think it's fun to watch me cook/bake. I just find it fun and stress relieving. Especially bread like this. I think I sweat off about 10 lbs last night. Phew!

So after I boiled each side of the dough for 30 seconds on each side I took it out of the bath and made sure the excess water came off and then placed each dough ball on a greased baking sheet.


This is where it gets exciting. Now is the time to bake. First I had to cut an X into the tops of each dough ball so that the bread would have a place to expand and not pop or I guess explode in the oven. I can't imagine it would "explode" but that is an interesting visual.

Now when they came out of the oven I was truly impressed with how they looked and promptly brushed with butter as the recipe suggested.

They are beautiful!


They came out golden brown with the chewy outer crust and the soft delicious inside. Doesn't taste like a soft pretzel really but oh my this was delicious. The recipe called for "bread flour" but I don't carry that in my kitchen let alone am I going to go buy some right now. So I just made sure to sift my AP flour. Don't these just look amazing!?


I packed one of up for work today and have the others for this weekend when Mike will be making sirloin steak and mushroom sauce - YUM!!! Oh he feeds me well. :) 


Add a little butter or some mustard - YUUMMMM


I could eat this bread all day.


A big thanks to Two Bites in Suburbia for the recipe.


Here it is:


Signature Pretzel Bread (makes 2 small loaves or 5 sandwich rolls)


2 1/4 tsp yeast (dry active is what I used)
1 cup water (110-120 degrees)
2 Tbsp room temperature milk (I used skim because that's what I have)
1 Tbsp dark brown sugar (I had light on hand)
3 Tbsp softened butter (blue bonnet margarine)
1 tsp kosher salt (I used plain old table salt)
2 1/2 - 3 cups bread flour (I used sifted AP flour)


4 quarts water
1/2 cup baking soda


Kosher salt to taste (table salt again)
2 Tbsp melted butter (in my case the butter was already pretty melted due to my new "Sauna kitchen")


Add yeast, water, milk, brown sugar and butter into a large bowl, whisking until all ingredients are combined. Let mixture rest for 10 minutes for yeast to activate. Mix in kosher salt. Start by adding two cups of the flour to the bowl, combining it with the other ingredients. Add more flour as it's needed, reserving just a bit for coating the dough mat later.


The dough should form a slightly tacky, but firm ball. Oil the bowl, place the dough ball in the bowl and cover with a damp towel for 30 minutes. After 30 minutes, knead the dough by hand or machine for at least 5-10 minutes until the dough is elastic and satiny (that's the word they used). Place dough back in bowl and recover for 1 hour.


Preheat oven to 400 degrees and bring the 4 quarts of water to a boil. When the water is boiling, slowly add the baking soda, (if you add it quickly and all at once, your boiling water will froth and boil over all onto your stove).

Remove the dough from the bowl and gently degas it.  Form two separate balls of dough, forming them into the shape you want.  Drop one of the smaller balls into the baking soda bath for no longer than 30 seconds, turning it once to guarantee both sides covered.  Drain the excess water from the dough and place it on an oiled baking sheet.  Repeat with second ball of dough.
Sprinkle the kosher salt over the bread to your specific tastes, and make sure to use a knife to cut a small incision on the top of the bread so the dough has somewhere to expand.
Cook the bread for 22 minutes, rotating the baking sheet once.
Once removed from the oven, immediately brush the melted butter over the loaves to guarantee a soft crust.
Now enjoy and try not to eat it all at one time ;)